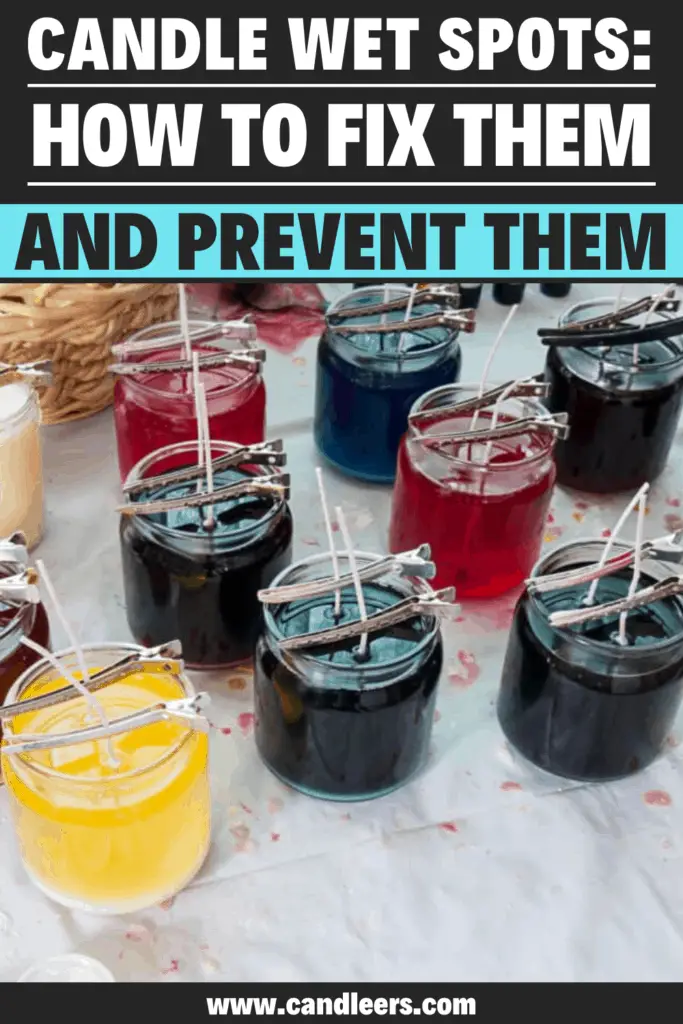
Sometimes when making candles in glass containers you get what is known as “wet spots” on the side of the container. This spot is caused by the wax not adhering to the glass properly. It can be caused by several factors but it will not impact the burning of the candle, it is purely an aesthetic problem.
However, it is still a little disheartening to see when you pour your time and money into something and it doesn’t work out exactly how you wanted. Well, I have good news for you.
There are several things you can do to fix this problem and prevent it on future candles. Let’s take a look at your options.
What Causes Candle Wet Spots?
Here are some of the reasons you make be experiencing wet spots in your candles.
What Causes Candle Wet Spots?
- Poor pouring conditions.
- Dirty candle containers.
- Improper cooling and curing.
- Candle temperature fluctuations.
- The wrong type of wax used to make candles.
Poor pouring conditions can contribute to the creation of wet spots. By this, we mean problems such as pouring your wax at the wrong temperature and pouring it into a container that is too cold for the temperature of the wax going into it.
Dirty containers are another issue that can contribute to candle wet spots. If the sides of your containers are lined with dust, dirt, or grime from the factory or warehouse they were sitting in before you bought them, that is going to create adhesion problems no matter what temperature you pour your candles.
Improper cooling and curing can also because of wet spots. If you let your candles cool in a disorganized way it can mess up heat distribution and cause them to cool unevenly which can negatively impact adhesion. Likewise, letting them cure somewhere temperature fluctuates while curing it can cause adhesion problems in your candles.
The wrong type of wax used to make your candles might be the reason you see so many wet spots. Try using a special blend made specifically for container candles and see if it improves your candle wax adhesion.
How To Fix Candle Wet Spots
How To Fix Candle Wet Spots?
Fix candle wet spots by heating the area, and surrounding areas with a heat gun and then up to the surface of the candle so that the area with poor adhesion fills in with wax. Then heat the surface wax so that it smooths back out. Try to heat all areas evenly and let them cool evenly.
It is important to know that once you start heating your candle in this way it can also change the color of your wax and create issues with frosting.
So the majority of the time, it is better to not even attempt fixing the wet spots because they do not impact the burning of your candles. A better strategy is to learn from what caused it and try to prevent them in the future.
However, you can sometimes hide a wet spot with some strategic label placement if the wet spot is on the side of the container and not too severe.

How To Prevent Candle Wet Spots
You can’t totally eliminate wet spots but these steps will go a long way to helping you reduce them.
How To Prevent Candle Wet Spots
- Thoroughly clean and dry the candle container.
- Preheat candle containers with a heat gun.
- Pour wax at lower temperatures.
- Make candles with recommended wax blends.
- Tap on the container to remove air bubbles.
- Use recommended cooling practices.
- Cure candles away from temperature fluctuations.
Wash and Dry
Wash and dry your candle containers before using them to make any candles. If you are just pulling your containers out of the box they could have collected dust inside the containers while sitting around, furthermore, they could have collected other types of debris at the factory when they were made.
Pre-heat Containers
Preheating your candle containers with a heat gun, or by leaving them in the oven on a low setting before pouring your candles will help. This helps the candles cool more evenly and will prevent the sides from cooling first, which can cause other problems like wax that sinks in the middle.
Pour at lower temperatures
Pouring the wax at lower temperatures closes the temperature gap between the sides of the container and the wax going into the container. This will decrease the chances of separation during cooling.
Use a container blend
Different candle companies offer different wax blends for candle making and some of these wax blends are specifically designed for container candles. If you are using 100% soy wax and keep getting problems with ‘wet spots’, then you make want to consider testing some of these blends.
Tap on the containers
Once your candles have been poured, you can tap on the sides of the container to help encourage any bubbles that may be trapped in the wax to rise to the surface. This can help solve other types of problems as well, such as sinkholes and tunneling.
Use proper cooling techniques
The cooling technique used is also another cause of a lot of problems candle makers experience. If you have your candle containers haphazardly sitting around with some near others where they can draw heat from each other, the candles are not going to cool evenly.
This temperature differential with one side of the candle cooling faster than the other side is one of the problems that cause adhesion issues and wet spots in candles. Space all of your candles out on a cooling rack so that they do not influence each other as they cool.
Use curing best practices
Similar to temperature differential, temperature fluctuation can also cause problems as candles cure. Container candle wax can take weeks to cure, and temperature fluctuations during this process can cause adhesion problems. Try to find a nice cool place with a steady temperature for your candles to cure. Perhaps in your basement or a similar place.
You can check out my article about candle curing here in my article titled Why Do Candles Need To Cure.
Frequently Asked Questions
How do you fix a wet candle?
Fix a wet candle by wiping excess water off of the surface of the candle. Then melt the surface wax and heat the wick with a heat gun or a blow dryer and pour off the surface wax. Then keep heating the surface wax to make sure it’s smooth for when it hardens. Trim the wick and the candle should be ready to use.
Can you melt candle wax with a hair dryer?
Hair dryers are hot enough to melt most types of wax. Turn the hair dryer on high and hold it on the area you want to melt why moving the hair dryer around in a circular motion. Continue doing this until the surface area of the candle is covered in molten wax and is smooth.
Conclusion
In conclusion, sometimes wet spots can be a headache, but you you have some options to help mitigate them. In the end nearly all candle makers get wet spots sometimes no matter what blend of wax or containers they use so do not let it get you down.
Ultimately wet spots do not alter the way your candle burns, they do not hurt your cold scent throw, they do not hurt your hot scent throw. It is purely aesthetic. Perhaps the best thing to do is to do everything you can to mitigate them, but learn to accept them when they happen.
Anyone that you give a candle to, or sell a candle to should not be shocked to see a wet spot if they are a regular candle user. It is just something that happens.